Key takeaways
- Put your fastest drive in the top CPU-connected M.2 slot for full Gen4/Gen5 speed.
- Insert the drive at a 30-degree angle and never force it, the notch keys it one way only.
- Keep a spare M.2 mounting screw kit on hand, the stock screw is tiny and easily lost.
- Always attach the heatsink on Gen4 and Gen5 drives to prevent thermal throttling.
An M.2 NVMe SSD is the single most satisfying upgrade you can make to a PC. These gumstick-sized drives slot directly onto the motherboard and deliver read speeds up to 7,450 MB/s on a drive like the Samsung 990 PRO, cutting game load times and file transfers dramatically. Installation takes about ten minutes and needs only a screwdriver, no cables required.
This guide walks you through installing an M.2 NVMe SSD from start to finish: choosing the right slot, seating the drive at the correct angle, securing it, and initializing it in Windows. We will also cover the tiny mounting screw that trips up so many first-time installers and how a heatsink keeps fast Gen4 and Gen5 drives cool.
Our top picks
 Samsung SSD 990 PRO 2TB
- Product Group: Personal Computer
- Binding: Personal Computers


 SIX NVME M.2 SSD PCIe 4.0-1TB m.2
- Product Group: Personal Computer
- Binding: Electronics
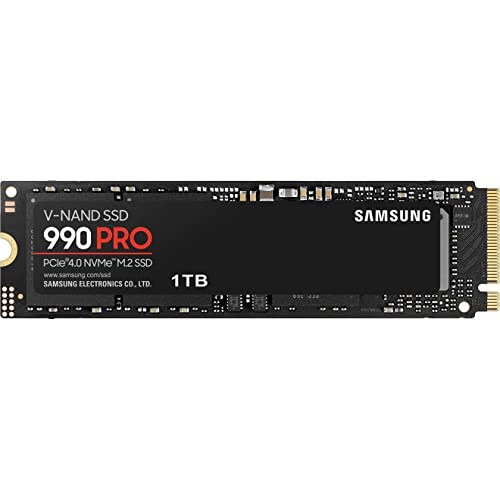 Samsung SSD 990 PRO 1TB
- Product Group: Personal Computer
- Binding: Personal Computers
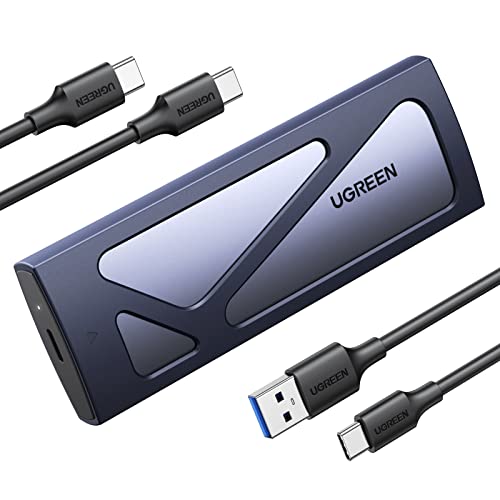
As an Amazon Associate we earn from qualifying purchases at no extra cost to you. Ratings are shown as listed on Amazon.
⚡ Save on Your Next PC — Amazon Prime
Prime members get fast free shipping on the systems above, plus early access to Prime Day & Black Friday PC deals. New members get a 30-day free trial.
Watch: How to Install an M.2 NVMe SSD — Video Review
Pick the Right M.2 Slot
Modern boards have multiple M.2 slots, but they are not all equal. The top slot, closest to the CPU, is usually wired directly to the processor for the fastest PCIe Gen4 or Gen5 lanes, ideal for your primary drive like a WD_Black SN8100 (Gen5) or Samsung 990 PRO (Gen4). Lower slots may run at Gen3 or share bandwidth with SATA ports. Check your manual to put your fastest drive in the fastest slot.
Power Down and Prepare the Slot
Shut down, unplug the power cable, and press the power button to discharge residual current. Lay the case flat and locate the M.2 slot, often hidden under a heatsink shield. Remove the heatsink screw and set it aside. If the slot uses a standoff, make sure it is positioned for your drive’s length, almost always 2280 (80mm) for desktops, though handhelds and some laptops use shorter 2230.
Seat the Drive at an Angle
Hold the SSD by its edges and insert the notched connector into the slot at roughly a 30-degree angle. The keying only allows one orientation, so do not force it. Push gently until the gold contacts disappear into the slot, then press the far end down flat toward the mounting point. The drive should hold itself at the angle until you secure it.
Secure With the Tiny M.2 Screw
This is where many first-timers stumble: M.2 drives need a specific tiny screw to hold them down, and it is easily lost. If your board did not include one, a kit like the ASTARON M.2 SSD screw set is a cheap insurance policy. Press the drive flat and thread the screw into the standoff, snug but not overtightened, cracking the PCB is a real risk. Many recent boards replace the screw with a tool-free latch instead.
Add the Heatsink and Initialize in Windows
Peel the film from the motherboard heatsink’s thermal pad and reattach the shield over the drive, this matters for Gen4 and especially Gen5 SSDs that can thermal-throttle without cooling. Reassemble, boot up, and open Windows Disk Management. The new drive appears as uninitialized: right-click to initialize it as GPT, then create a simple volume and format it. Your SSD is now ready to use.
Tips
- Put your fastest drive in the top CPU-connected M.2 slot for full Gen4/Gen5 speed.
- Insert the drive at a 30-degree angle and never force it, the notch keys it one way only.
- Keep a spare M.2 mounting screw kit on hand, the stock screw is tiny and easily lost.
- Always attach the heatsink on Gen4 and Gen5 drives to prevent thermal throttling.
Frequently Asked Questions
Do I need cables for an M.2 SSD?
No. That is the beauty of M.2, the drive draws power and data through the slot itself, so there are no SATA or power cables to route, unlike a 2.5-inch SSD.
What length M.2 drive do I need?
Desktops almost always use 2280 (80mm). Handhelds like the Steam Deck and some thin laptops use shorter 2230 drives, so check your device before buying.
Why won’t my new SSD show up?
A brand-new drive is uninitialized. Open Windows Disk Management, initialize it as GPT, then create and format a volume, and it will appear in File Explorer.
Do I need a heatsink on an M.2 SSD?
For Gen4 and Gen5 drives, yes, they run hot and can throttle without one. Most boards include an M.2 heatsink; use it. Slower Gen3 drives are less demanding.
Conclusion
Installing an M.2 NVMe SSD is a quick, cable-free upgrade with a huge payoff in load times. Choose the right slot, seat the drive at an angle, secure it with that easily-lost tiny screw, fit the heatsink, and initialize it in Windows. Ten minutes of work transforms how fast your PC feels.